Quickstart guide for Sorted Basic ( Sorted Connected Portal)
This is only a Quickstart guide to get Funds to Audit, after registration of Sorted.

Step2 Importing Clients we cover Class and BGL360 in detail
Non Cloud based softwares import go here Step2.Creating Client & Audit Job for Manual Upload (non cloud based jobs)
Step1. Create Staff

Three Roles And Permissions available in Sorted Basic
1. Business Admin (Primary User)
Can perform all roles and actions within the portal

Be aware only this User can:
Purchasing Sorted Pro
Dashboard
Includes all jobs for the firm and all filter options within queues are active.
2. Super User (Administrator)
Can perform all roles and actions within the portal, except purchasing upgrade to Sorted Pro and updating details via the Change Request Form
Dashboard
Includes all jobs for the firm and all filter options within queues are active.
3. Manager
Can perform all roles required for a job but will not be able to perform any administration functions, example creating New User.
Dashboard
Includes own jobs only but within queues there will be an option to see and access all jobs.
Create New User
This can only be performed by the Business Admin or Super User
Select Admin/Staff and you will be directed to the Staff page
Select Create New Staff
Enter details as prompted.
Once all fields are completed the Create New Staff box at the bottom of the page will become active.
This will generate an email with login details to the newly registered user, with the following:

Subject line: Congratulations, Your
Profile is created on Cloudoffis SMSF Sorted
from email address: no-reply@cloudoffis.com.au
Newly created user can't locate the email.
1. Check Spam & Junk mail
2. Check other inbox folders and Sub-Folders
3. Check with the IT team for Spam Filters/Blockers, if no-reply@cloudoffis.com.au is blocked.
Edit Staff Creation
At any stage a users credentials can be edited or deleted by the Business Admin or Super User.
Select Admin/Staff and you will be directed to the Staff page
Click under Action ... on the right of the desired user and select Edit.
Change the required details.
Step2. Importing clients from BGL SimpleFund360
- From the Business level dashboard, navigate to Clients > Manage Clients
- Click Import Clients, then select Import from BGL360
- If you are not already logged into BGL, you will be asked to enter your login details, then you will be asked to Authorise access
- Click Authorise to continue. Once authorised, and list of clients will be displayed.
If a fund is not appearing in the selection list from BGL in 4, the following steps need to be completed in BGL SimpleFund 360, please
login to BGL360 software separately to complete the BGL Integration nowBGL Integration
From BGL360, click the menu icon (9 dots), and select Integrations:
Look for the application listed as SMSF Sorted PROD then click Edit
A screen similar to the one below will appear. Click the green button next to Assigned Entities.
NOTE: The number preceding the word "Edit" represents the number of currently assigned funds on the authority.
Check that Allow future entities to be accessible by default is switched on. This is recommended to ensure a smooth import process for the Auditor.
If you are using multiple audit firms you may leave this set as off, as you would be enabling only the funds as required.
There are also likely to be Funds in the Disabled Entities column. Click  to move all over to Enabled, or
  to move each fund separately > Click Save
If no Funds are in the Disabled Entities please also Click Save
Please ensure the funds remain Enabled at least until your Auditor has completed the Audit. Disabling access will prevent them from reimporting data, as well as issues with downloading Workpapers
Once completed in BGL go back to your Sorted Portal again step 1-4
5. Select the clients you wish to import, then click Import Selected Clients.
6. Once the import is complete, you will be given a message to confirm clients imported successfully.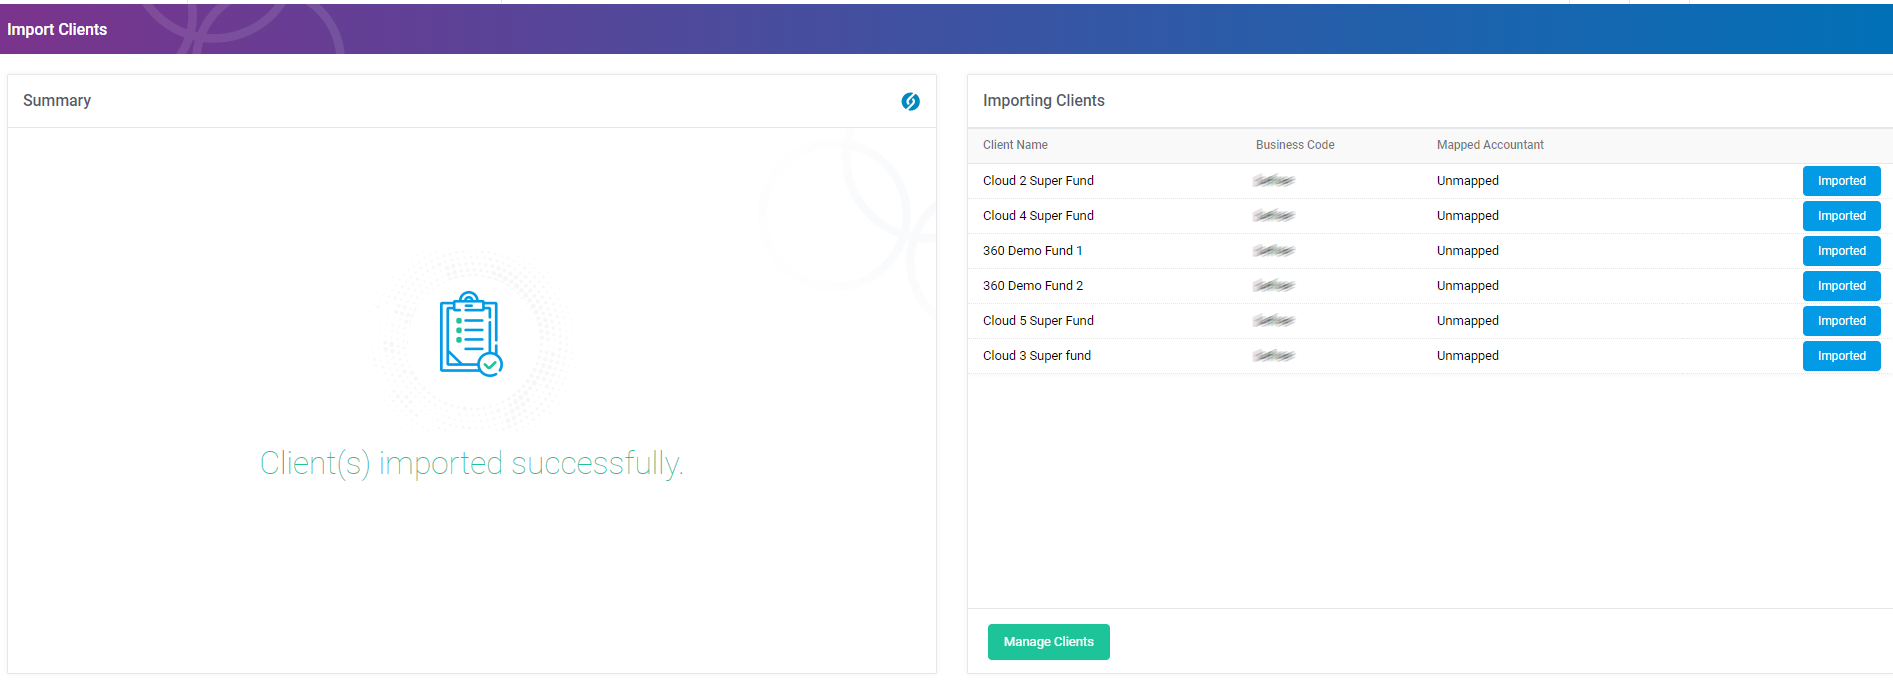
Note this step is only done once, in the consecutive years the Fund will show in the Manage Client screen.
If you have ever any issues with BGL360 in Sorted Basic please follow this guide:
It will resolve most issues with BGL360 for Submit to Auditor and Resubmit a Job to Audit which we cover in the next part
Skip below Importing Clients from Class, if you don't have any Class Funds and go straight to Step3. Submit to Auditor
Step2. Importing Clients from Class
- From the Business level dashboard, navigate to Clients > Manage Clients
- Click Import Clients, then select Import from Class
- If you are not already logged into Class, you will be asked to enter your login details, then click Allow access to continue
- Click Authorise to continue. Once authorised, and list of clients will be displayed.
- Select the clients you wish to import, then click Import Selected Clients.
- Once the import is complete, you will be given a message to confirm clients imported successfully. Now click on Manage Clients to go back to the Manage Clients screen.
Note this step is only done once, in the consecutive
years the Fund will show in the Manage Client screen.
Step3. Submit to Auditor
From Manage Clients page > click on the ‘3 dot icon’ next to the fund and select Submit to Auditor option from the menu.
A new screen will appear for you to enter the details of the audit Job.
1: Job Information
- Verify SMSF ID and Client Name
- The Fund Name and SMSF ID will be prefilled.
- Select Financial Year
- Please select the relevant Financial Year.
- Select Client Contact
- Select “ Client Contact ”, who is responsible for receiving communication on this audit job within your own firm.
- Select the Auditor
- Select the connected Auditing firm whom you are submitted the job from the " Select Auditor " drop-down menu. Then, click on Submit .
Click on Next
2: Upload Documents
Click on Add Files or Drag & drop the files to the box to upload the documents.
Note: This step is optional. You can also add additional documents at a later stage if required.
Click on Next when the above is done.
3: Review & Submit the Job to Auditor
Click on Submit to submit the job to the Auditor.
Note: On this action, the job will be imported from accounting software (Class, BGL 360 & SuperMate) and the documents will be OCRed in the backend and will be submitted to the Auditor all together.
Note - Job Type Field: The system will identify if a job is a Year-End or Wind-Up based on the details imported from the accounting software. This field will be prefilled and cannot be edited.
For BGL Desktop (or Manual jobs), please update the Fund End Date in Client Details under the 'Fund' tab if it is a Wind up job.
The accountant can leave the screen after clicking on Submit. The Auditor will then get an email once the job is submitted successfully.
If the job submission failed, the accountant will get an email informing the job has been failed to submit. They can see the status from the below screen:
Job Submission status:
Failed:
- User will get an email informing the job has been failed.
- User will get an option to Re-Submit to Auditor
In Progress:
- If the submission is in progress
- Provided a refresh button to update the status
Submitted:
- The job has been successfully submitted to the Auditor
If Submission Failed please resubmit the job, instructions below Email example
Email example for job submission failed in your inbox:
Subject line: (Fund name in this example) Wrap automation fund - 17 2014 – Failed to Submit to Auditor
from email address: no-reply@cloudoffis.com.au
Submit to Auditor via the Manage Clients screen can only be processed once, if you need to Submit to Auditor again please follow the process Step3.1 How to Resubmit a Job to Audit Resubmit.
Step3.1 How to Resubmit a Job to Audit?
If your auditor has requested you re-submit a job to Audit, in order to re-submit the job, please complete the following steps.
1 - Navigate to Clients > Manage Jobs.
2 - Locate the relevant fund in the Submitted to Auditor Queue.
3 - Click the Action icon on the right-hand side and select "Re-Submit to Auditor".
4 - A pop-out will appear, asking you to "Re-Import Data". Click this.
NOTE - At this point, you may receive a Red Error requesting you to "Re-Authorise" the fund before Re-Importing the data. If this occurs please re-authorise the fund by completing steps A to E below:
A - Navigate to Client > Manage Client.B - Locate the relevant fund in the Manage Client list. A green "Re-Authorise" button will be visible. Please click this.C - A screen will open, prompting to login to the relevant Accounting software (Class, BGL360 or Supermate) and Authorise the connection to SMSF Sorted.
D - After the fund is re-authorised you will automatically return to the Manage Client screen.E - Return to the "Submitted to Auditor" queue - Client > Manage Jobs. And again click "Re-Submit to Auditor" from the Action column. And again click "Re-Import Data" from the pop-out.
5 - The data will re-import and you will receive a confirmation that this has been imported successfully. You can then click "Re-Submit".
Other reasons for resubmitting a job:
1.Submission Failed
2.Changes have been made in the accounting software (Class, BGL360 or Supermate) for the Financial Year after the submission to the Auditor
Example BGL Training Fund was Submitted on 16/02/2023 11:18 AM, Member Contribution was changed to Concessional and updated in BGL360 on 05/04/2023, therefore we need to resubmit.
Note:
Once resubmitted it will updates the Submitted Date, in example below it was resubmitted on 05/04/2023 04:12 PM
Step3.2 Uploading documents to auditors after a job has been submitted
Sending additional documents
There may be times when documents required for an audit were not available when the job was initially submitted, or were still in the Unsorted folder at the time of Submission. Additional documents can be sent directly to the Cloudoffis Auditomation audit firm.
These extra documents must be sitting in the Unsorted folder to be able to be sent to the auditor
Go to the Unsorted folder in DMS.
From the DMS screen click the Upload Documents icon and upload the job documents.
After being uploaded, documents will show in the "Unsorted" folder.
Check the boxes for the documents you wish to send to the auditor, then click the Send to Auditor icon 
A confirmation message will appear which also contains a checkbox to Notify. When checked, this will send an email to the audit firm to let them know the extra document has been sent. This will appear in the Unsorted folder for their audit for relating to that particular job.
Click Yes to continue.
The documents will then move from the Unsorted folder to a new folder called Submitted to Auditor
Step3.3 Responding to Audit Queries
If the auditor raises an audit query during their review, the staff member assigned to the audit on the Accounting Portal will receive a notification. The staff member should then log in to their SMSF Sorted account to view the query in full and respond.
The queries will be visible in the below 2 ways:
1) under “External Queries” on the SMSF Sorted Dashboard
or
2) from Submitted to Auditor tab (Sorted Basic users)
For more details please click on Viewing and Responding to Audit Queries.
Related Articles
Creating Sorted Basic portal for Accountant connected with Cloudoffis Auditors
Creating Portal for Connected Accountants Cloudoffis provides accountants with a platform to submit funds to audit with a Cloudoffis Auditor. The article below will guide Connected Accountants on creating their Sorted Basic portal(which is a ...Introduction to Cloudoffis for Connected Accountants with Sorted Basic portal
Introduction to Cloudoffis for Connected Accountants Cloudoffis provides accountants with a platform to submit funds to audit with a Cloudoffis Auditor. The article below will guide Connected Accountants on importing funds from their accounting ...Sorted Basic Portal for Accountants
Sorted Basic Portal for Accountants Through connect requests from Cloudoffis Auditomation Auditors or SMSF Sorted Accountants, a Sorted Basic portal can be created for the Accountants & Administrators. We have two types of Sorted Basic portals. ...Audit Basic Portal for the Connected Auditors
Referenced Audit Workpaper Files Auditors connected with SMSF Sorted Accountants can now download the referenced audit workpaper files. The downloaded file contains the hyperlinks of the source documents tagged on the line items by the accountant. ...Audit portal for connected accountants
Overview This video briefly covers the functionality available for accountants that have a portal connection with their auditor. This portal connection allows an accountant to import client data, upload jobs to their auditor, track the progress of ...